The first step to lawn restoration is removing thatch buildup. Thatch is stems and roots that haven’t decomposed and have accumulated near the soil surface. Want to know when to remove thatch? Dig up a small, triangular-shaped plug of turf several inches deep. If the spongy layer above the soil is more than ¾- to 1-inch thick when you compress it, it is time to have your lawn dethatched.
The best time to remove thatch is when your lawn is thriving in the spring or fall. You must expose the soil between the old grass plants and remove weed colonies using a grape (grubbing) hoe or you will have poor results. Removing thatch might reveal uneven areas in your lawn. Read how to fill depressions and level bumps prior to completing this process.
Should you dethatch before or after moving?
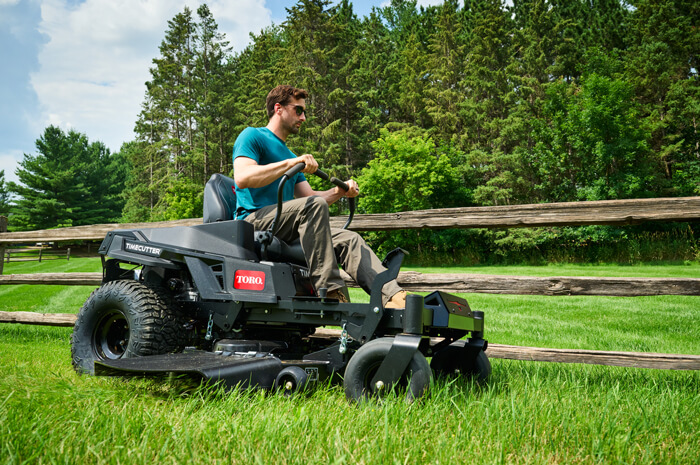
You’re going to want to mow before you dethatch. When you’re ready to start removing thatch, begin by setting the height adjustment on your mower to cut the grass to about 1-inch high—essentially half its normal mowing height—and mow the entire lawn. Short grass will make dethatching and surface preparation easier. It will also improve seed germination rates because more seed will make contact with the soil and seedlings will have better exposure to the sun.
Before you start to remove thatch using a dethatcher throughout your lawn, make several test passes on an inconspicuous area of your lawn to see how much thatch (and turf) is removed and adjust the blades accordingly. Adjusting the spacing between blades is possible on some dethatching machines, but it is difficult and best done by rental-store staff.
The blade spacing for Bermudagrass and Zoysiagrass is 1-to 2-inches, while the spacing for Bahiagrass and St. Augustinegrass is 3-inches. Most store owners that rent out dethatchers will know the optimal settings for the grasses grown in your area.
When using a vertical mower to dethatch, make several passes over the lawn in perpendicular directions. It is important to be thorough. Remove the thatch that you pull up after each series of passes, and add it to your compost pile. When you have finished dethatching, re-mow your lawn to a height of 1-inch.
Removing Thick Thatch
On a lawn with very thick thatch (more than 1-½ inches), you may need to partially remove the thatch and allow the lawn to fully recover before the next dethatching session. Removing too much thatch all at once can do more harm than good. The rule of thumb is to remove thatch as much as you can without tearing up holes of more than a couple of square inches in live turf. If large holes are torn into your turf, your lawn may not be salvageable and you may need to replant from scratch.
Dethatching for Large Lawns
The easiest way to remove thatch from a lawn that is more than 3,000-square feet is by using a power rake, or vertical mower (a machine with vertical instead of horizontal cutting blades), which should be available at rental stores.
Dethatching for Small Lawns
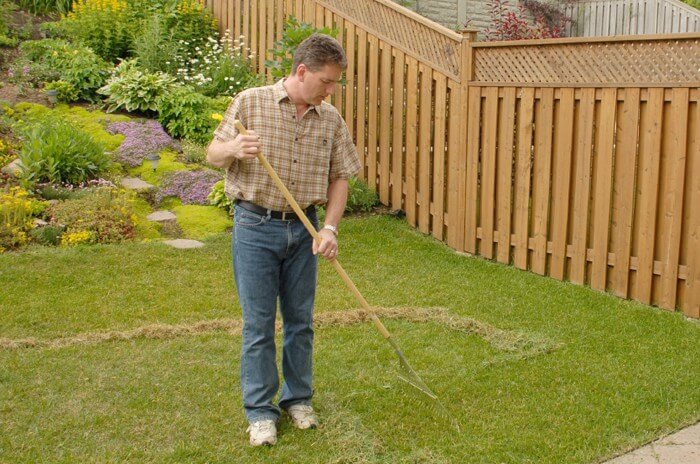
For smaller lawns or lawns with thin layers of thatch (½- to 1-inch), a manual thatching rake will do a satisfactory job. If you’re removing thatch with a vertical mower and you want to scarify the soil, set the blades to cut ⅛- to ¼- inch into the soil.
Does Dethatching Remove Weeds?
Before you remove thatch, weed your lawn. The process of removing thatch won’t remove weeds in your lawn, so take care of the mature weeds first, but it might have direct effects on weed growth in the future. How so? Dethatching your lawn gives your grass access to more oxygen and allows nutrients to get to the grasses’ roots, giving your grass the upper hand when any weeds try to edge their way in. Removing thatch also removes the habitat for many different types of fungi that can cause spotting and disease in your lawn.
Commence Dethatching
Do you want to learn more about lawn care and landscaping? Check out the rest of our articles. From information on lawn mower maintenance to insects that are helpful for your lawn, you’ll learn everything you need to know about keeping your green space green!


